The Proactive Triggers Playbook: Auto-Engage Every Visitor Before They Leave
Stop waiting for visitors to start conversations. Use proactive triggers to auto-greet, recover exits, and guide users to conversion, with copy-paste configurations for every scenario.
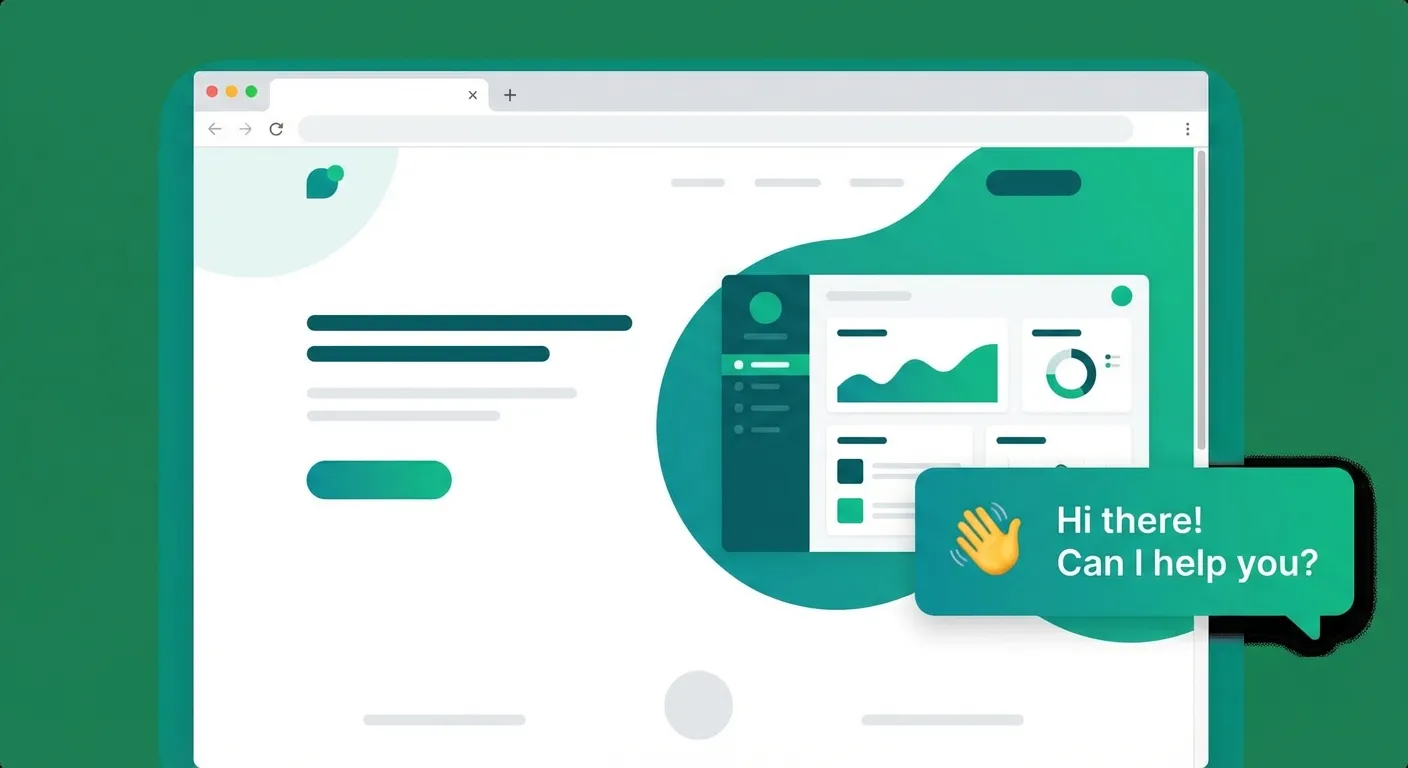
Proactive Triggers Playbook
Why Passive Chatbots Lose You Money
Most chatbots sit in the corner like a wallflower at a party. They wait patiently in the bottom-right corner of your website, hoping, praying, that a visitor decides to click on them. But here is the uncomfortable truth: the vast majority of your visitors never will. Only about 2-5% of website visitors voluntarily open a chat widget on their own. That means 95-98% of your traffic leaves without ever engaging with your chatbot.
Think about that for a second. You invested time and money into building a website, running ads, optimizing for SEO, and getting people to your pages. Then once they arrive, your chatbot just... sits there. It is like hiring a store greeter and telling them to hide behind the counter. Customers walk in, look around confused, and walk right back out, while your "greeter" waits for someone to find them.
This passive approach costs you real money every single day. Every visitor who leaves without engaging is a missed opportunity, a potential lead, a potential sale, a potential loyal customer gone forever. The average website has a bounce rate between 40-60%. Many of those bouncing visitors had a question they never asked, a concern that was never addressed, or simply needed a small nudge to take the next step.
The fix? Proactive triggers. Instead of waiting for visitors to come to your chatbot, your chatbot goes to them. At exactly the right moment, with exactly the right message, on exactly the right page. Proactive triggers transform your chatbot from a passive widget into an active sales and support assistant that initiates conversations, recovers abandoning visitors, and guides users toward conversion. Let's dive into how to make it happen.
The 5 Types of Proactive Triggers
Not all triggers are created equal. Each type serves a different purpose and works best in specific situations. Understanding when and where to use each trigger type is the key to boosting engagement without annoying your visitors. Here are the five essential trigger types every website should know about.
1. Time-Based Triggers (The Welcome Greeter)
Time-based triggers are the simplest and most widely used type. They fire after a visitor has been on a page for a set number of seconds. Think of them as your digital store greeter who approaches a customer after giving them a moment to look around.
These triggers work best on homepages and landing pages, the entry points where visitors are still figuring out what your site is about. A well-timed welcome message after 5-10 seconds can dramatically increase engagement. Too early feels pushy (nobody likes being jumped on the second they walk through the door). Too late and the visitor has already decided to leave.
Example Message:
"Welcome! Looking for something specific? I can help you find it in seconds."
2. Page-Based Triggers (The Context Expert)
Page-based triggers fire when a visitor lands on a specific URL or URL pattern. They are the context experts, they know exactly where the visitor is and deliver a message that matches what they are looking at. A visitor on your pricing page has very different needs than a visitor reading a blog post, and your trigger messages should reflect that.
These triggers are incredibly powerful on high-intent pages: pricing pages, product detail pages, comparison pages, and feature pages. A visitor on your pricing page is actively evaluating whether to buy. A visitor on your product page is trying to understand whether your solution fits their needs. Meeting them with a relevant, helpful message at that exact moment can be the difference between a conversion and a bounce.
Example Message (Pricing Page):
"Comparing plans? I can help you pick the right one for your business. Just tell me a bit about what you need."
3. Scroll-Based Triggers (The Engagement Sensor)
Scroll-based triggers fire when a visitor has scrolled to a certain percentage of the page. They are your engagement sensors, if someone has scrolled through 50-70% of your page, they are clearly interested in your content. That is the perfect moment to deepen the engagement.
These triggers shine on blog posts, long-form content pages, case studies, and documentation pages. A visitor who has read most of your blog post is already engaged and primed for the next step. A well-placed trigger at 60% scroll depth can convert a passive reader into an active lead by offering related content, a newsletter signup, or a personalized recommendation.
Example Message (at 60% Scroll):
"Enjoying this article? I can give you a personalized recommendation based on what you've read so far."
4. Exit-Intent Triggers (The Last Chance Save)
Exit-intent triggers fire when the visitor's cursor moves toward the browser's close button or address bar, a strong signal that they are about to leave. These are your last line of defense, the safety net that catches visitors right before they bounce forever.
Exit-intent triggers are most effective on cart pages, checkout pages, pricing pages, and any page with high commercial intent. A visitor who is about to leave your pricing page probably has an unanswered question or concern. Instead of letting them disappear, an exit-intent message gives you one final chance to address their hesitation. Studies show that exit-intent popups can recover 10-15% of otherwise lost visitors, and a conversational trigger feels much less intrusive than a traditional popup.
Example Message:
"Wait! Before you go, is there anything I can help you with? I am here if you have any questions."
5. Inactivity Triggers (The Gentle Nudge)
Inactivity triggers fire when a visitor has been idle on a page for a set period, no scrolling, no clicking, no typing. They are the gentle nudge that says "Hey, are you stuck?" without being overbearing.
These triggers work wonders on forms, configurators, multi-step wizards, and sign-up pages, anywhere a visitor might get confused or overwhelmed. If someone has been staring at your contact form for 30 seconds without typing, they probably need help. Maybe they are unsure which option to pick, maybe they do not know what information to provide, or maybe they just got distracted. A gentle nudge can bring them back on track.
Example Message (after 30s idle on a form):
"Stuck on something? I can walk you through the form step by step, just ask!"
Copy-Paste Trigger Recipes
Theory is great, but you came here for practical, ready-to-use configurations. Below are five battle-tested trigger recipes you can copy and paste directly into your WebChatAgent dashboard. Each recipe is designed for a specific use case and has been optimized for maximum engagement without being annoying.
Recipe 1: E-Commerce Cart Recovery
Trigger Type: Time-Based (15 seconds)
URL Pattern: /cart, /checkout, /basket
Message: "I see you have some great items in your cart! Need help with sizing, shipping options, or payment? I'm here to make sure your checkout goes smoothly."
Why it works: Cart abandonment rates average 70%. This trigger catches hesitant shoppers and addresses the most common checkout concerns (shipping, sizing, payment) before they bounce.
Recipe 2: SaaS Pricing Page Converter
Trigger Type: Time-Based (10 seconds)
URL Pattern: /pricing, /plans
Message: "Picking the right plan can be tricky. Tell me about your team size and needs, and I'll recommend the best fit, no sales pitch, just honest advice."
Why it works: Pricing pages are where buying decisions happen. Visitors often feel overwhelmed by feature comparisons. Offering personalized guidance reduces decision fatigue and builds trust.
Recipe 3: Service Provider Appointment Nudge
Trigger Type: Time-Based (8 seconds)
URL Pattern: /contact, /book, /appointment, /schedule
Message: "Want to skip the form? I can help you find an available time slot and book your appointment right here in the chat. What day works best for you?"
Why it works: Contact forms feel like work. Offering a conversational alternative lowers friction and makes booking feel effortless. The specific question ("what day works best?") prompts an immediate response.
Recipe 4: Blog Reader Lead Capture
Trigger Type: Scroll-Based (70% scroll depth)
URL Pattern: /blog/*, /articles/*, /resources/*
Message: "You seem to be enjoying this topic! Want me to send you similar articles and exclusive insights? Just drop your email and I'll keep you in the loop."
Why it works: A visitor who scrolled 70% through a blog post is genuinely interested. This is the perfect moment to offer additional value and capture their email for future nurturing.
Recipe 5: Exit-Intent Discount Offer
Trigger Type: Exit-Intent
URL Pattern: /products/*, /shop/*
Message: "Leaving so soon? If you have any questions about this product, I'm happy to help. Or if you're on the fence, I might have a little something to sweeten the deal."
Why it works: Exit-intent on product pages catches visitors in the decision-making phase. The subtle hint at a special offer creates curiosity without cheapening your brand by shouting "DISCOUNT!" immediately.
How to Set Up Triggers in WebChatAgent
Setting up proactive triggers in WebChatAgent is straightforward and requires zero coding knowledge. The entire process takes about 5 minutes per trigger. Here is a step-by-step walkthrough to get your first trigger live and working.
Step 1: Go to Your Dashboard
Log into your WebChatAgent dashboard. If you do not have an account yet, you can sign up for free and set up your first chatbot in minutes.
Step 2: Navigate to "Proactive Triggers"
In the left sidebar, find the "Proactive Triggers" section under your chatbot settings. This is where all your triggers live, you can see active triggers, paused triggers, and their performance metrics at a glance.
Step 3: Click "Add New Trigger"
Hit the "Add New Trigger" button to start building. You will see a clean configuration form that walks you through each setting.
Step 4: Choose Your Trigger Type
Select one of the five trigger types: Time-Based, Page-Based, Scroll-Based, Exit-Intent, or Inactivity. Each type shows a brief description and recommended use case to help you choose the right one.
Step 5: Configure Your Parameters
Configure the trigger parameters. Depending on the type, you will set a delay in seconds, a scroll percentage, an inactivity timeout, or URL patterns for page-specific triggers. Each type shows the relevant options automatically.
Step 6: Write Your Message
Craft the message your chatbot will send. Keep it conversational, relevant to the page context, and end with a question or call-to-action to encourage a response. You can use the recipes from the previous section as starting points and customize them for your business.
Step 7: Preview, Test, and Activate
Use the built-in preview to see exactly how your trigger will look and behave on your website. Test it across different screen sizes to make sure it works on both desktop and mobile. Once you are happy, toggle the trigger to "Active" and it goes live immediately. You can pause or edit any trigger at any time without affecting your other triggers.
Measuring Trigger Performance
Setting up triggers is only half the battle. To get real results, you need to measure, analyze, and optimize. Without data, you are flying blind, and a trigger that seemed like a great idea might actually be hurting your engagement. Here is how to track what matters and continuously improve.
Key Metrics to Track
Focus on four core metrics for each trigger. Trigger Fire Rate tells you how often the trigger actually fires, if it is too low, your conditions might be too restrictive. Open Rate (or response rate) measures how many visitors respond to the trigger message. This is your most important engagement metric. Conversion Rate tracks how many trigger-initiated conversations lead to your desired outcome (a signup, a purchase, an appointment). Finally, Bounce Impact helps you understand whether a trigger is helping or hurting, does the bounce rate on that page go up or down after activating the trigger?
How to A/B Test Your Triggers
The best-performing triggers are always the result of testing. Run two different messages for the same trigger conditions and compare engagement over a 1-2 week period. For example, test a direct question ("Need help choosing a plan?") against a value-first approach ("I can save you time by recommending the best plan for your needs"). Small wording changes can make a surprising difference. Test one variable at a time, message text, timing delay, or trigger type, so you know exactly what caused the improvement.
The Weekly Review Cycle
Set a recurring weekly check to review your trigger performance. Look at which triggers have the highest response rates and which ones visitors are ignoring. Ask yourself: Is the timing right? Is the message relevant? Is the trigger firing on the right pages? Adjust, test, and iterate. The best trigger strategies evolve over time as you learn more about your visitors' behavior.
Pro Tip: Start Small
Begin with just 1-2 triggers on your highest-traffic pages. Get the message and timing right there first. Once you see positive results, expand to more pages and trigger types. Launching 10 triggers at once makes it impossible to know what is working and overwhelms visitors with too many messages.
Common Mistakes to Avoid
Proactive triggers are powerful, but they can also backfire if used incorrectly. The line between "helpful assistant" and "annoying popup" is thinner than you think. Here are the most common mistakes we see, and how to avoid them.
Too many triggers on the same page. If a visitor gets hit with a time-based trigger, then a scroll trigger, then an exit-intent trigger, all on the same page visit, they will feel harassed, not helped. Limit yourself to one trigger per page per visit. Use frequency capping to ensure the same visitor does not see the same trigger repeatedly across multiple sessions.
Generic messages that ignore page context. A message like "Hi! How can I help?" is better than nothing, but it is a wasted opportunity. Visitors respond much better to messages that reference what they are currently looking at. "I see you're checking out our pricing plans" performs vastly better than a one-size-fits-all greeting.
Triggering too early. Firing a trigger after 2 seconds feels aggressive. The visitor has not even had time to read the page headline. Give people at least 5-8 seconds on a landing page and 10-15 seconds on content-heavy pages before engaging them. For scroll triggers, 40-50% minimum ensures they have actually consumed meaningful content.
Not testing on mobile. Exit-intent triggers do not work on mobile devices (there is no cursor to track). Scroll behavior is different on touchscreens. Trigger messages might overlap with other mobile UI elements. Always preview and test your triggers on mobile devices before activating them.
Ignoring analytics. "Set it and forget it" is not a strategy, it is a recipe for wasted potential. A trigger you set up three months ago might be completely irrelevant now. Pages change, audiences shift, and what worked in January might not work in March. Review your trigger performance regularly and be willing to pause, edit, or replace underperforming triggers.
Using the same message for every page. Your homepage visitor and your pricing page visitor are in completely different stages of the buying journey. Your trigger messages should reflect where they are. A homepage visitor needs orientation ("Welcome! What brings you here today?"). A pricing page visitor needs decision support ("Need help comparing these plans?"). A blog reader needs engagement deepening ("Want more content like this?"). Tailor every message to the page and the intent.
Start Triggering Conversions Today
Stop waiting for visitors to come to you. Set up proactive triggers in minutes and watch engagement soar.