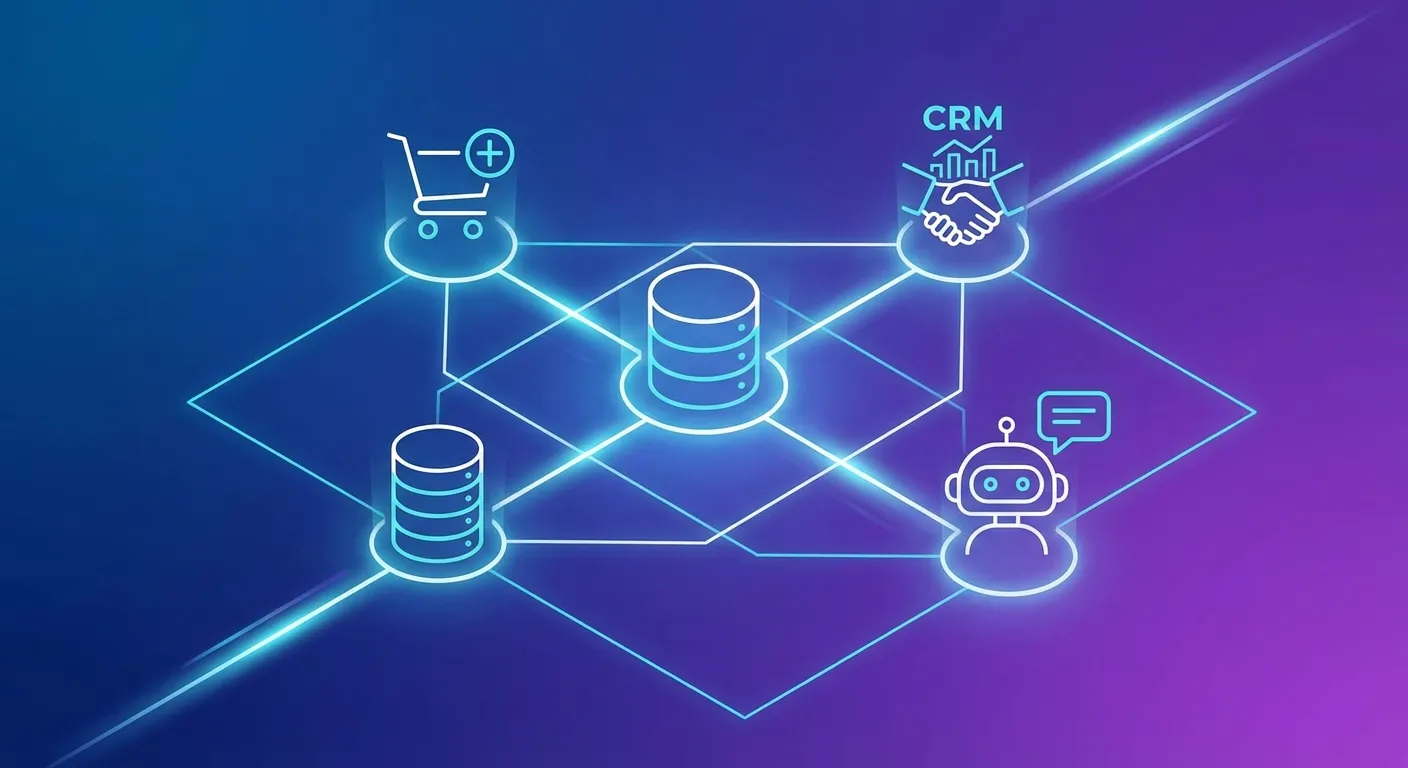
API Connectors: Connect Your Chatbot to Any System
Unlock the full potential of your AI chatbot by connecting it to your existing business systems. Learn how API Connectors transform your chatbot from a simple Q&A tool into a powerful automation hub.
What Are API Connectors?
API Connectors are a game-changing feature that allows your AI chatbot to communicate directly with external systems and APIs. Instead of just answering questions from your knowledge base, your chatbot can now fetch real-time data, process transactions, and provide personalized information based on your business systems.
Think of API Connectors as bridges between your chatbot and the rest of your digital infrastructure. Whether it's your e-commerce platform, CRM system, ticketing software, or custom internal tools – your chatbot can now access and interact with all of them seamlessly.
Why Your Chatbot Needs API Integration
A chatbot that can only recite static information is useful, but limited. Here's what API integration enables:
1. Real-Time Data Access
Customers no longer need to wait or navigate complex menus. They simply ask:
- "What's my order status?" – Instant lookup from your e-commerce system
- "When is my appointment?" – Direct calendar integration
- "What's my account balance?" – Secure, verified financial data
- "Is product X in stock?" – Live inventory checks
2. Secure Data Verification
Security is paramount when accessing customer data. API Connectors include built-in response validation that ensures data is only shared with verified users:
- Verify email addresses against API responses
- Cross-check order numbers with customer accounts
- Validate authentication tokens before revealing sensitive data
- Customizable error messages for failed verifications
3. Automation That Works
API Connectors don't just read data – they can trigger actions:
- Create support tickets automatically
- Schedule appointments and send confirmations
- Update customer preferences in your CRM
- Process simple transactions
How API Connectors Work
Setting up an API Connector is straightforward, even without coding experience:
Step 1: Define Your Endpoint
Specify the API URL with dynamic placeholders for parameters:
https://api.yourstore.com/orders/{order_id}Step 2: Configure Dynamic Fields
Define the information your chatbot needs to collect from users:
- order_id (string, required) – "Your order number"
- email (email, required) – "Email used for the order"
Step 3: Set Up Response Validation
Add security rules to verify user identity:
- Input: email (from user)
- Compare with: billing.email (from API response)
- Type: equals_ignore_case
- Error: "Email doesn't match. Please verify your details."
Step 4: Write the AI Prompt
Guide the AI on when and how to use the connector:
"Use this tool when a customer asks about their order status. Always ask for both order number AND email address. Only share order details if the email verification succeeds."
Real-World Use Cases
E-Commerce: Order Status Lookup
The Problem: Customers flood support with "Where is my order?" requests.
The Solution: Connect to WooCommerce, Shopify, or any e-commerce API. Customers get instant status updates after simple email verification.
Results:
- 70% reduction in order-status support tickets
- 24/7 availability for status checks
- Happier customers with instant answers
SaaS: Account Information
The Problem: Users need quick access to subscription details, usage stats, or billing info.
The Solution: Integrate with your billing system. The chatbot can show plan details, usage metrics, and even help with upgrades.
Healthcare: Appointment Management
The Problem: Phone lines are busy, and patients can't easily check or reschedule appointments.
The Solution: Connect to your practice management system. Patients verify their identity and instantly see upcoming appointments or available slots.
Support: Ticket Status
The Problem: Customers create duplicate tickets asking about existing tickets.
The Solution: Integrate with Zendesk, Freshdesk, or your ticketing system. The chatbot provides real-time ticket status and even creates new tickets when needed.
Advanced Features
Chained API Calls
Need to authenticate before fetching data? API Connectors support multi-step workflows:
- Step 1: Call authentication API with user credentials
- Step 2: Extract token from response
- Step 3: Use token in header for protected API call
The AI orchestrates these calls automatically, using the output of one call as input for the next.
Multiple HTTP Methods
Support for all standard HTTP methods opens up possibilities:
- GET: Retrieve data (orders, appointments, account info)
- POST: Create records (tickets, bookings, leads)
- PUT/PATCH: Update existing data (preferences, profiles)
- DELETE: Remove records (unsubscribe, cancel bookings)
Flexible Request Bodies
For POST/PUT/PATCH requests, define request body templates with placeholders:
{
  "customer_email": "{email}",
  "subject": "{issue_title}",
  "description": "{issue_description}",
  "priority": "normal"
}
Pre-Built Templates
Get started quickly with ready-to-use templates for popular integrations:
- WooCommerce Order Status – Complete setup for order lookups
- API Authentication Flow – Two-step token-based authentication
- More templates coming soon (Shopify, Zendesk, HubSpot...)
Security Best Practices
When connecting AI to external systems, security is critical:
1. Always Validate Responses
Never trust user input alone. Use response validation to verify that the user actually owns the data they're requesting.
2. Use Secure Authentication
Store API keys and secrets securely in headers. Never expose them in URLs or request bodies that users can see.
3. Limit Data Exposure
Configure your API to return only necessary fields. Your chatbot shouldn't have access to more data than needed.
4. Monitor and Log
Keep track of API calls made by your chatbot. Unusual patterns might indicate misuse or security issues.
Getting Started
Ready to supercharge your chatbot with API Connectors? Here's how to start:
- Identify your use case: What data do customers frequently request?
- Document your API: Gather endpoint URLs, authentication methods, and response formats
- Plan validation: Decide how you'll verify user identity
- Create your connector: Use the dashboard to configure your integration
- Test thoroughly: Verify all scenarios including error handling
- Deploy and monitor: Go live and track performance
The Future of Chatbot Integrations
API Connectors represent the next evolution of AI chatbots. As businesses increasingly operate across multiple systems and platforms, the ability to unify these touchpoints through conversational AI becomes invaluable.
Imagine a world where your customers never need to log into multiple portals, navigate complex menus, or wait on hold. They simply ask your chatbot, and it handles everything – securely, instantly, and accurately.
That world is here. Start building it today.
Connect Your Systems Today
API Connectors are available on Standard plans and above. Start your 7-day trial and transform your chatbot into a powerful automation hub.